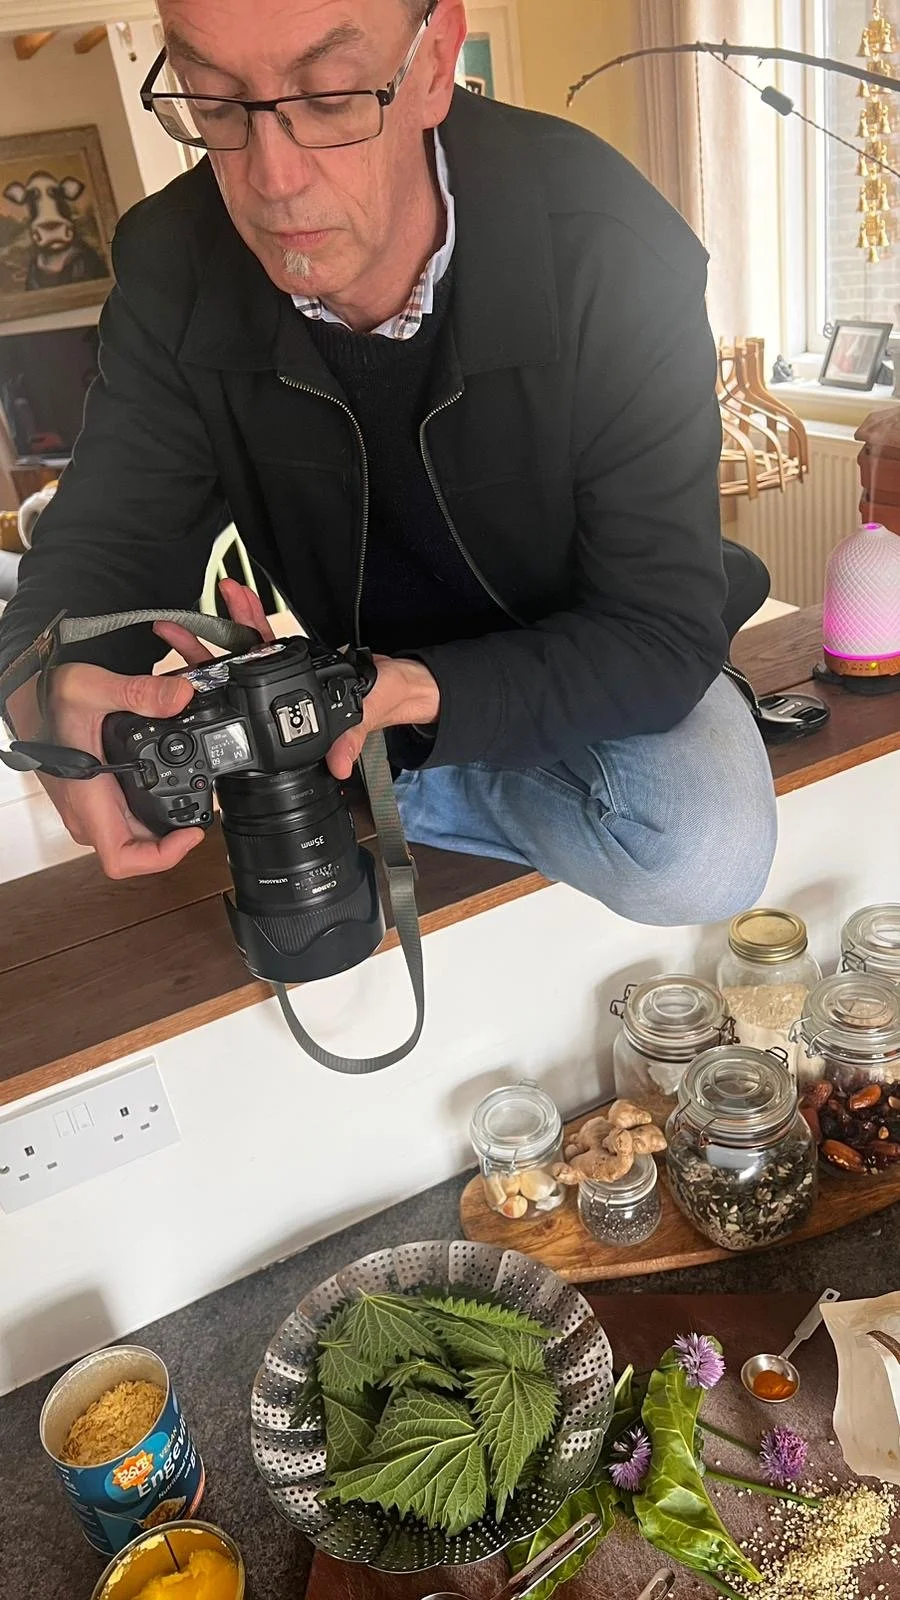
Embarking on a photography journey can be both exciting and overwhelming, especially when confronted with technical terms like the "exposure triangle." For many, including myself, this term initially led to confusion. Despite delving into photography books at the Buckley Library in the 1980s, the concept wasn't frequently discussed. However, over time, I realised that the essence of the exposure triangle lies not in its geometric name but in the interplay of three critical camera settings. Let’s demystify this concept by focusing on how these settings work together to create a well-exposed photograph.
What is the Exposure Triangle?
The exposure triangle comprises three fundamental settings that control the exposure of a photograph:
1. Aperture (f-stop)
2. Shutter Speed
3. ISO Sensitivity
Each setting affects the amount of light reaching the camera sensor, and thus the brightness of your photo. Understanding how these elements interact is key to mastering photography.
Shutter Speed: The Blink of an Eye
Think of shutter speed as akin to your eye blinking. When you blink quickly, you limit the amount of light entering your eye, akin to a fast shutter speed. Conversely, a slow blink allows more light to enter, similar to a slow shutter speed.
- Fast Shutter Speed (e.g., 1/1000th of a second): Freezes motion, perfect for action shots.
- Slow Shutter Speed (e.g., 1/30th of a second or slower): Allows more light in, useful for low-light conditions or creating motion blur.
Aperture: The Camera's Pupil
The aperture functions like the pupil of your eye, which dilates and contracts to control the amount of light entering.
- Wide Aperture (e.g., f/1.8): Lets in more light, creating a shallow depth of field (blurry background).
- Narrow Aperture (e.g., f/16): Allows less light, resulting in a greater depth of field (more of the scene in focus).
ISO Sensitivity: The Sensor's Sensitivity to Light
ISO measures the sensitivity of your camera’s sensor to light. Lower ISO values (e.g., ISO 100) mean less sensitivity and less noise, while higher ISO values (e.g., ISO 3200) increase sensitivity and noise.
- Low ISO: Best for bright conditions to maintain image quality.
- High ISO: Useful in low-light situations but can introduce graininess.
Balancing the Triangle
To achieve the perfect exposure, you need to balance these three settings. Here’s how they interrelate:
- Aperture and Shutter Speed: If you widen the aperture to let in more light (e.g., from f/8 to f/2.8), you can use a faster shutter speed to prevent overexposure.
- Shutter Speed and ISO: In low light, a slower shutter speed might be necessary to avoid a high ISO, which can add noise to your image.
- Aperture and ISO: Increasing the ISO can allow you to use a narrower aperture without sacrificing exposure.
Practical Example
Imagine you’re taking a photo in a dimly lit room. You want to capture a sharp image of a moving subject.
1. Shutter Speed: Set a fast shutter speed to freeze the motion (e.g., 1/500th of a second).
2. Aperture: Open up the aperture to allow more light in (e.g., f/2.8).
3. ISO: Increase the ISO to ensure the photo is bright enough without using a slow shutter speed or too wide an aperture (e.g., ISO 1600).
By adjusting these settings, you can achieve a well-exposed photograph even in challenging lighting conditions.
Conclusion
The term "exposure triangle" might initially seem daunting, but by understanding how shutter speed, aperture, and ISO work together, you can control the exposure of your photographs with confidence. Think of it less as a geometric shape and more as a trio of tools that, when balanced correctly, result in beautifully exposed images. Mastery of these elements will open up new creative possibilities in your photography journey.

